15
Feb

Date
27 July 2020
Author
JPC Direct
Estimated reading time
11 minutes
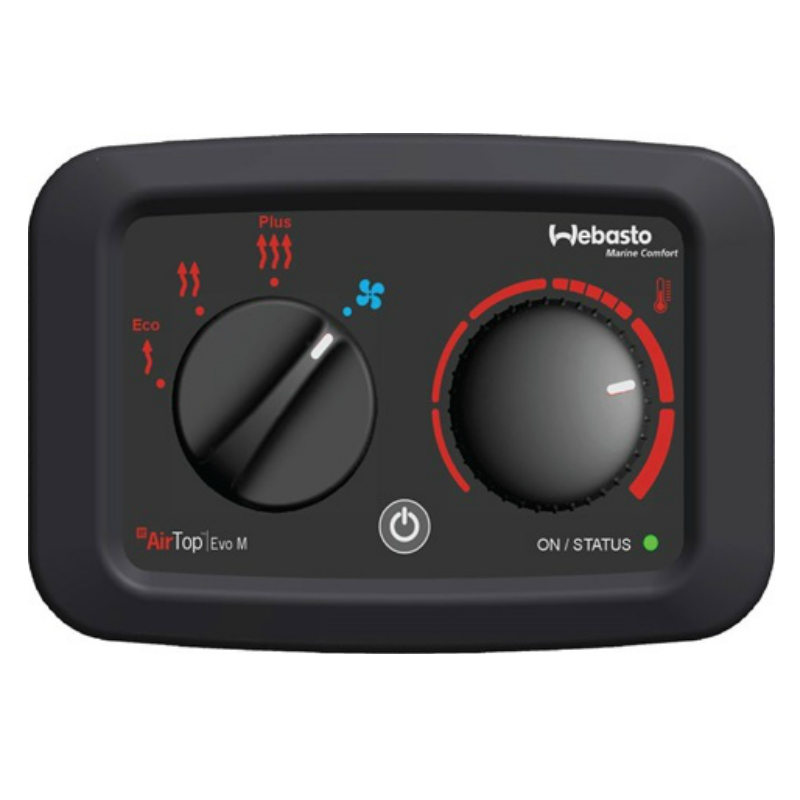
On many models of Webasto heaters, the green operating status light gives a fault indication when the heater is not working.
If you have a Webasto timer installed, the fault indication may even be shown in the form of a code (F03 for example).
These faults can provide useful assistance if you’re having problems warming your boat or camper van.
Unfortunately, not all Webasto units offer you this option. If you’re the owner of a Thermo Top heater or an older model unit like an HL32 or Air Top 32 you will have to resort to good old fashioned fault finding.
JPC Direct will of course be happy to help with any fault finding. Feel free to contact us at any time, and we will be happy to give you honest, expert advice on solving the problem.

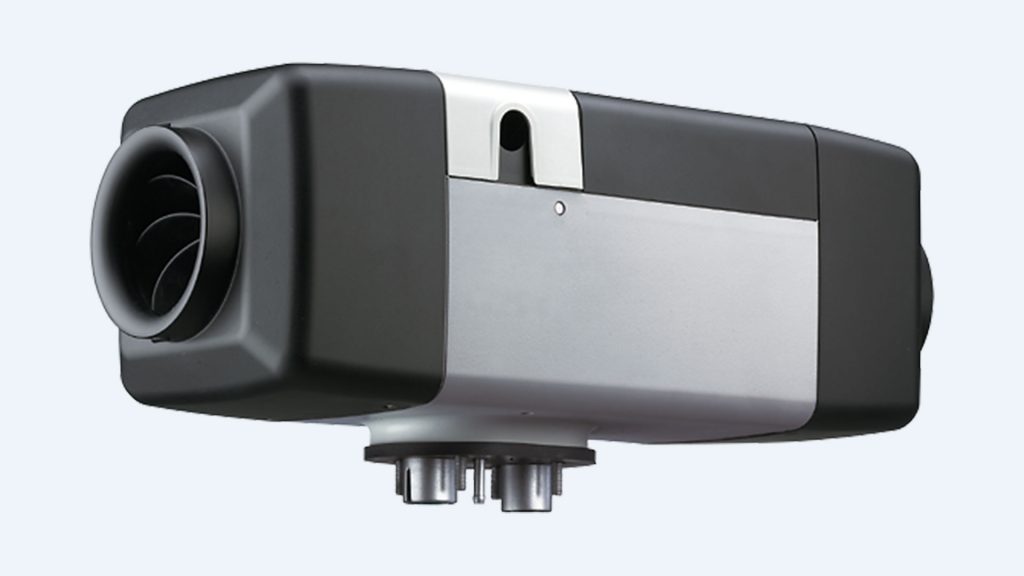
If you have an Air Top heater or a water heater from the Thermo 90 range, then the following guide should help you to diagnose any faults.
If your heater has a fault, the green indicator light will flash in a sequence unique to the heater fault.
The flashing sequence is preceded and superseded by 5 very quick blinks of the light – almost too quick to count – these 5 fast flashes simply indicate to you that the heater has experienced a fault.
They are not unique to your particular fault and should be ignored when deciphering which specific fault the heater is identifying. They do however, offer a useful indication of the type of fault.
*NB The five quick flashes will be followed by a sequence of slower ‘longer’ flashes – the number of these flashes corresponds to the fault number (ie 5 flashes for F05) and will identify the problem with the system that needs to be resolved.
It is always a good idea to read this fault code a number of times in order to be sure that you have correctly counted the number of flashes. There is nothing more frustrating than chasing a non-existent fault.

This fault will appear if the heater thinks the electronic control unit (ECU) is faulty. The flash code will consist of the 5 quick flashes, a pause and then the 5 quick flashes again. The recommended course of action would to turn the heater off, allow it to complete a full shut down and then restart. If the fault continues you would be best advised to contact a Webasto-authorised agent as it is possible the ECU will need replacing.
This helpful code tells you something you may have already worked out – the heater won’t start! The heater will automatically attempt two starts of the heater, and if no flame is established then this fault appears. The most common cause of this fault is the heater is not being supplied with fuel.
Remember, if correctly installed, your heater should have an independent fuel standpipe in your tank which is cut short of the bottom of the tank, if you are low on fuel this could be the cause. Blockages in the fuel line and/or burner are also common causes. You can check for fuel delivery at the heater end during start up, and if no fuel is coming out of the pipe, your heater won’t start.
Other causes could be an air blockage in the exhaust or combustion air pipe. The recommended course of action would be:
The next stage would normally be a burner replacement/service. It is worth discussing some options with an agent before purchasing parts, because this fault carries many different potential causes and you should be 100% sure that you have the correct parts.
Alternatively your heater can be sent to JPC Direct for bench testing, where we will put it through our 3-Step Servicing Process
This fault is similar to F01 and has the same causes/resolutions. With both these faults fuel delivery is the most common cause. This could be air, a blockage, a fuel pump or burner. This can be a frustrating fault to solve, and a bench test is often a good starting point.
By far the most common fault on Webasto heaters.
The most common customer response is “It can’t be the batteries, they’re brand new and I have fully charged them.”
Obviously if your battery voltage is too high or too low then it is highly likely that your heater will show this fault.
The first thing to do would be to turn your engine on and try the heater again, and if the issue is solved then it is likely your batteries were a little low on power.
Remember the heater will sense the voltage at the ECU and NOT at the battery. If the voltage is too high or too low at the heater, not at the batteries and not at your volt meter, then the heater will show this fault.
Causes could be:
If you are experiencing any faults of this nature, then do please check this potential causes thoroughly.
This is where the flame sensor inside the heater has detected a flame in error. This may require a replacement of the flame sensor (the same part as the glowpin in some models) or a clean of the flame sensor. The heater will need to be removed and stripped down in both cases. It would be sensible to try and run the heater again before jumping in and removing the heater, just in case the heater has ‘cleaned itself’ during the fault run down.
This fault is only relevant on a Thermo 90S or Thermo 90ST. Simply the heater has detected an open or short circuit of the flame sensor – and the heater will therefore need to be stripped down, and the flame sensor replaced. Please ensure that you are counting the slower, longer flashes and not the quick short flashes – anerror here could cause a lot of wasted time and money.
The internal temperature sensor and an Airtop or external temperature sensor probe on an Airtop is faulty or not plugged in correctly. On most of the Airtop models an air temperature sensor will be required, otherwise the heater will not start.
The temperature sensor on a Thermo 90 unit is located in the water pipe outlet of the heater. This fault suggests that there is an open or short circuit of the sensor, or that it is corroded and needs replacing.
Remember that this sensor is installed in the water pipe, so if you remove it without a replacement to install, then you will get coolant leak and introduce air into your coolant system.
This fault simply tells you that the fuel pump has a wiring open or short circuit, or that the pump is faulty. If you can’t hear the pump clicking during the attempted heater start-up, you will need to check the wires and plugs from the heater right down to the fuel pump. A break in the cables or corrosion on any terminals will be the potential cause. The next stage would be to send the pump for testing, or replace the pump.
Watch the short video below for an example of F07 in action on a Webasto controller.
In the event of this fault, your fan could be blocked or jammed. so remove the heater fuses (we don’t want any severed fingers!!) and check for obstructions. You may need to check the wiring for any open or short circuits and you may have to replace the drive unit.
Air heaters with long complex ducting runs and/or very heavy usage will be more susceptible to fan failures and replacement. It is also possible that if the fan is faulty the burn of the heater has been ‘rich’ for a while, which can result in and damaged burner, requiring a replacement.
Common causes of this fault can include damaged internal cables. If the glowpin cables have been catching the internal fan or casing then open or short circuit could easily occur. The solution is to remove the heater, strip it down, and replace the glowpin.
Overheating has numerous causes, and these differ between air and water heaters.
Airtop units will experience overheating if inlet or outlet ducting is squashed or blocked, the plastic casing on the heater is loose or broken, the rubber gasket on the base of the heater is missing or broken and/or there is a blockage under the plastic casing on top of the heat exchanger.
Removing the inlet and outlet ducting from the heater is a good way of testing if the fault is cause by air flow around the boat. A less common cause of overheating on the Airtop units may be that the overheat sensor on the heat exchanger is faulty, and some heaters models have an independent fault code for this problem.
In Thermo 90 units, overheating will normally be due to air in the coolant system. Bleeding the system thoroughly and fixing any leaks is the best starting point, and can be time-consuming.
Overheating can also occur when there are no blockages in the coolant system, and you may have to go to the extent of draining and flushing the system to clear any restrictions. It is possible that a faulty water pump that has a damaged impeller is causing the overheating. In this case the only solution is to replace the water pump.
This fault only relates to the water heaters and refers to the water pump cabling, either short or open circuit or possibly a pump that needs replacing.
This fault will occur if your heater has a had a repeated fault, depending on the fault will depend on the number of repetitions that with instigate a fault lock out. In order to clear the fault you can do one of two things. With the heater on, remove the main fuse, switch the control panel off, re-insert fuse and switch heater on again, OR contact your local Webasto agent and they can unlock your heater with the PC diagnostics. You should always be able to unlock the heater without the need for an agent to attend. Remember the original fault that caused the lock-out will probably need correction prior to satisfactory operation of the heater.
On the Airtop 3900/5500 range this fault is for an incorrectly positioned overheat sensor. It can be corrected by simply clipping the overheat sensor back on the heat exchanger correctly. On other Webasto models it refers to a defective overheat sensor/blow out sensor. The usage wiring checks for cable damage and correct insertion of the plug should be checked before replacing the sensor.
This fault can be caused by restriction in exhaust air flow or sooting of the sensor. In cases of heavy sooting the exhaust temperature sensor, and possibly even the burner, may need replacing.
In the case of the exhaust temperature sensor being defective this fault will show. Assuming the plug is in correctly, the sensor will need to be changed.
The control panel has an open and short circuit and may need replacing
One of the sensors has failed to meet the plausibility values. You will need to check the wiring on the exhaust temperature sensor and overheat sensor, and potentially replace either or both of these.